Format the drive as HFS+ / APFS according to the system you will be using.
Mount the DMG with the system image.
In Disk Utility, select "Restore" the Mounted DMG Image to the Connected Drive.
Recovery
Restart the computer by pressing CMD + D.
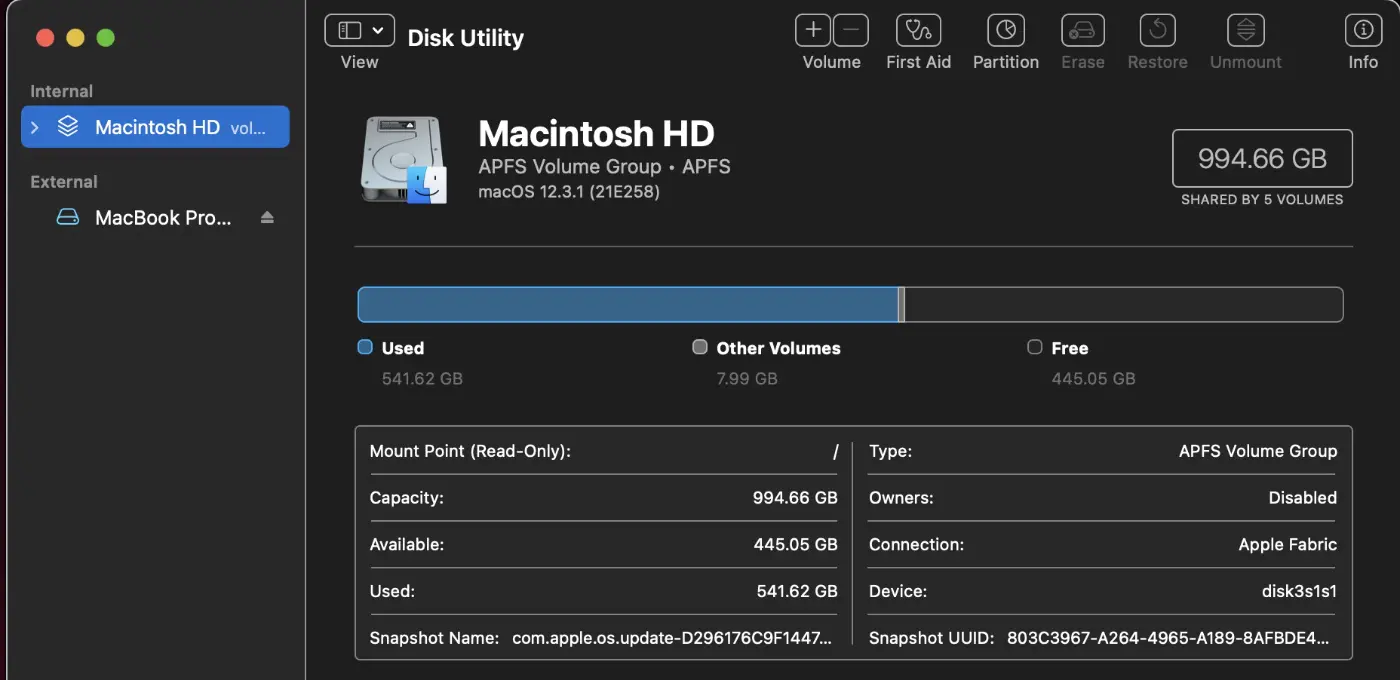
Launch Disk Utility.
Connect the Receiving Drive.
Format the drive as HFS+ / APFS according to the system you will be using.
In Disk Utility, select "Restore Image," locate the downloaded DMG, and restore it to the connected drive.
CARBON COPY CLONER
Connect the Receiving Drive.
Format the drive as HFS+ / APFS according to the system you will be using.
Mount the DMG with the system image.
In Carbon Copy Cloner, select the Source Drive and the Destination Drive.
Disable Safety Net.
Ignore Snapshots.
Select Bootable Backup Assistant.
Allow CCC to Format the Destination Drive.
We need to grant permissions in System Preferences.
If the system encounters an error, we need to Clone with CCC without Bootable Backup Assistant, and once completed, perform a regular reinstallation using a USB drive with the full system.